How to Get a Student Visa: Step by Step Guide

Securing a student visa is a crucial first step in your study abroad journey. Each country has its requirements and process, but the steps below will guide you through the general path. You’ll need to plan early, gather documents, and meet deadlines. Below is a global overview followed by examples of specific processes (for major destinations).
Step 1: Get Accepted & Research Requirements
Before applying, you must be officially accepted by an accredited school or program. Check your destination’s official immigration website for student visa requirements (e.g., language tests, passports, financial proof). Research early – Start at least 6 months before your program to allow time for paperwork and appointments. Look for visa types (e.g., F-1 in the US, Tier 4 in the UK and any special requirements (such as medical exams or language exams).
Step 2: Prepare Documents
Commonly required documents include:
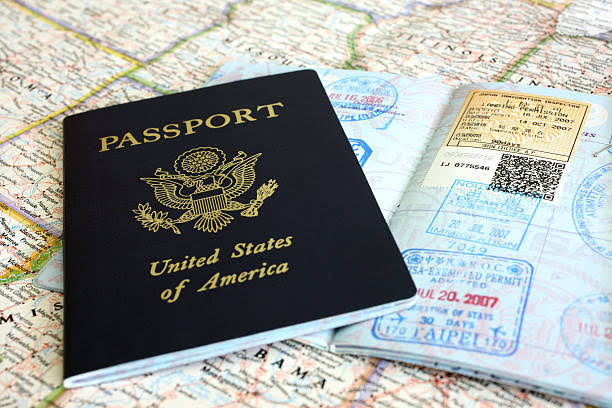
- Valid Passport (typically valid for at least 6 months beyond your start date).
- Admission Letter from your school, showing you have been accepted full-time.
- Proof of Language Proficiency (TOEFL, IELTS, etc.), if the program is in a second language.
- Proof of Finances, such as bank statements or scholarship letters, to demonstrate your ability to support yourself.
- Health/Travel Insurance, and vaccination records, if required by the country.
- Other country-specific items (e.g., passport photos, police clearance, medical certificates).
For example, you should have a valid passport, an acceptance letter, proof of language test scores, and financial evidence. Double-check deadlines and required forms (some countries use online forms, others paper).
Step 3: Submit Your Visa Application
Once documents are ready, complete the visa application form for your destination (often online). Pay the visa fee (typically $100–$200 USD for many countries). Then schedule any appointments needed (embassy/consulate interviews, fingerprinting, etc.). For example, U.S. student visa applicants fill out the DS-160 form online, pay a fee, and then make an appointment at a U.S. consulate.
- Appointment & Interview: Many countries (like the US) require a visa interview. Be prepared to discuss your study plans. Bring originals of all documents. Practice common questions (why you chose this school, how you’ll fund it, etc.).
- Pay Fees and Attend: Pay attention to multiple fees (application, issuance). Attend the interview or visa appointment as scheduled. Bring all required paperwork, and dress formally.
Step 4: Await Decision
After your interview or submission, wait for processing (can range from a few days to several weeks). For example, some U.S. visas take around 60 days, but times vary. You can usually track your visa status online.
- Visa Validity: Most student visas cover your program duration plus a grace period (often 1–2 months before/after study). Some allow extensions (e.g., for internships or a Post-Study Work permit).
- If Rejected: If denied, you’ll get a reason. Common issues are insufficient finances or incomplete documents. You can reapply if the issue can be fixed.
Country Variations
Each destination has nuances. For instance, the U.S. F-1 visa requires SEVIS registration and an interview. Canada’s study permit may involve a Medical Exam if you stay long. The UK requires a “Student Route” visa with biometric enrollment. Australia and New Zealand have their own visa schemes. Always consult the official embassy/immigration site (e.g., U.S. USCIS, UK Visas, AusAID) for the latest rules.
Quick Tips:
- Apply early (sometimes a year before).
- Keep copies of everything.
- Stay honest on applications.
- Use checklists.
- Consider professional help if overwhelmed.
By following this clear plan, getting your admission, preparing docs, applying, and attending any interviews, you’ll secure your student visa step by step. Remember to track your application and prepare for your arrival so nothing is left to chance.


